Plywood, Veneer and Finger-Joint Chair Frames
Published by Foshanchair · Chair manufacturer in Foshan, China
Most chairs sold as solid wood contain at least one engineered component: a plywood seat pan under the foam, a veneered back panel, a finger-jointed leg blank, or a shell pressed from seven thin veneers. That is not a trick. Timber moves as humidity changes, and a wide flat piece of solid wood will cup or split unless it is designed around that movement. The useful question is therefore not whether panels are used, but which panel, in which position, and whether your specification says so. This guide covers the three engineered materials in chair frames, where each fails, and the checks that separate a panel that lasts ten years from one that delaminates in its first winter. The solid models we build alongside them are in the solid wood chair range.
1. Why engineered wood is in the frame at all
Plywood is an odd number of veneers glued with the grain of each layer at right angles to the next. That cross-lamination is the point: it holds a panel flat in both directions, so a 15 mm seat pan does what a 25 mm solid board could not do without a frame-and-panel assembly. Yield is the second reason. A curved back shell cut from solid wastes most of the block and puts the grain the wrong way through the curve, which is where short-grain breakage starts; pressed over a mould, the same curve behaves predictably, as steam-bent parts explains for the solid alternative. Solid timber goes to legs, stretchers and anything that receives a joint; panels go to flat surfaces and curves. An all-panel chair with dowelled legs deserves a question about its load path, because a screw into the edge of plywood holds almost nothing.
2. Plywood: seat pans, back shells and corner blocks
Chair plywood is specified by numbers that rarely appear on a quotation. Thickness: 12 mm for a small seat pan on a close support frame, 15 mm for a standard dining seat, 18 mm where the pan spans unsupported. Core quality: no voids between plies, because voids telegraph through a face veneer as a soft ridge and an exposed ply edge with a void is a channel for water. Glue line: EN 314-2 class 2 is the indoor contract grade, class 3 for anything that sees spills or weather. Formaldehyde comes next, since the panel is legally a separate product: under CARB Phase 2 the limits are 0.05 ppm for hardwood plywood, 0.09 for particleboard and 0.11 for MDF, and the certificate should name the mill, not the chair factory — see chemical compliance for chairs. Our Nordic solid wood chair is built on exactly this pan, and what sits on top of it is covered in seat suspension.
3. Veneer: the figure without the solid board
Decorative veneer is normally 0.5 to 0.6 mm, sliced from a flitch and pressed onto MDF, HDF, plywood or blockboard. The substrate decides how the part behaves: MDF gives a dead-flat surface for fine veneer and paint, plywood or blockboard wherever the part takes a screw or a knock. Two failures are worth writing into the order. The edge first: a veneered panel must be wrapped, or better lipped with 3 to 5 mm of solid timber in the same species wherever hands, trolleys or stacked chairs will hit it, because a 0.6 mm tape on an MDF edge looks fine in the sample room and chips within a season. Then the sanding allowance: half a millimetre leaves none, so one heavy pass goes into the core and the repair is a patch. Flitch matching matters on sets, because chairs that get pushed together should come from one flitch.
4. Finger-jointed and edge-glued blanks
Short offcuts are finger-jointed end to end and machined into leg and rail blanks; narrow strips are edge-glued into wider panels. Done properly this is good material: fingers cut fresh, glue spread evenly, cured under pressure, joint line thin enough to read as a line in the grain rather than a step. The test that matters is destructive — a sound joint breaks in the timber beside it, not in the glue line. Placement is where buyers get caught. A joint sits in the highest-stress section of a leg, so specify one per leg at most, none in the bottom 200 mm where floor water and chair tips load the part, and none within about 150 mm of a mortise or bolt hole, as chair joints explains. Finger-jointed blanks also stripe under dark stain — invisible under paint, obvious under clear lacquer — so a clear-finished frame like our ash dining chair should be solid.
5. Four checks that catch a bad panel
None of these needs a laboratory, and all four can be done on the pre-production sample. First, look at a cut edge: a fingernail run along it finds voids and veneer thinner than the drawing says, which is why we send a cross-section offcut with the sample. Second, take moisture readings in two places on the same leg: kiln-dried hardwood for export should sit at 8 to 12 percent, plywood at 6 to 10, and a split reading means the part was machined before it had equalised. Third, tap the panel with a coin: a hollow note is a void or a starved glue line, and it will lift in the first heating season. Fourth, drive a screw into the fixing point the drawing calls for; into a plywood edge it will strip, and a threaded insert in 15 mm board needs 10 mm of engagement. Check the results against chair test standards.
6. Writing panels into the purchase order
Panel specifications survive only if they are written as sentences a factory can build to. Seat pan: 15 mm seven-ply hardwood plywood, EN 314-2 class 2, no visible core voids at the edge, CARB Phase 2 certificate from the named mill. Back: 0.6 mm sliced oak veneer on 15 mm HDF, lipped with 3 mm solid oak, one flitch per set. Legs: solid beech, maximum one finger joint, not in the bottom 200 mm, minimum 150 mm from any mortise. Then the negative clause, which does more work than any positive one: no particleboard in a load-bearing part, no panel board anywhere it can get wet. Add physical evidence — a 100 mm cross-section of the seat pan and one cut leg with the sample — and the specification becomes a reference rather than a description. Name the same mill on a reorder, because a veneer that changes supplier changes colour. Our OEM team builds these clauses into the drawing pack for the commercial restaurant range before quoting.
Conclusion
Engineered wood is not the cheap option in a chair frame; it is the correct one in the places where flatness, curves or yield decide the design, and it is the wrong one wherever a joint or a screw has to hold. Specify plywood by thickness, core and glue class, veneer by substrate and edge treatment, and finger joints by position rather than by count, and the material argument disappears into a line on the purchase order. Send us your drawing or the model you want matched through the contact form and we will tell you which parts we would build from solid, which from panel, and why.
Related: Chair Joints: What Buyers Should Inspect · Steam-Bent Wood Chair Parts
Models we build for this
Factory-direct pricing, custom finish and fabric, MOQ from a few pieces.
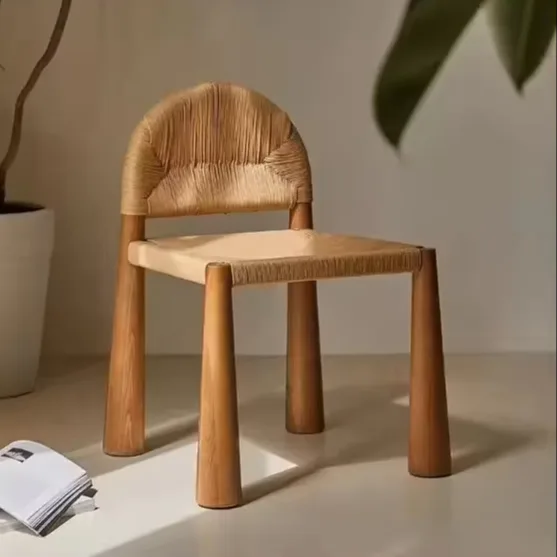 Wooden Chairs
Foshanchair Modern Simple Solid Wood Dining Chair
100% solid wood · MOQ 6 pcs · $135
View model →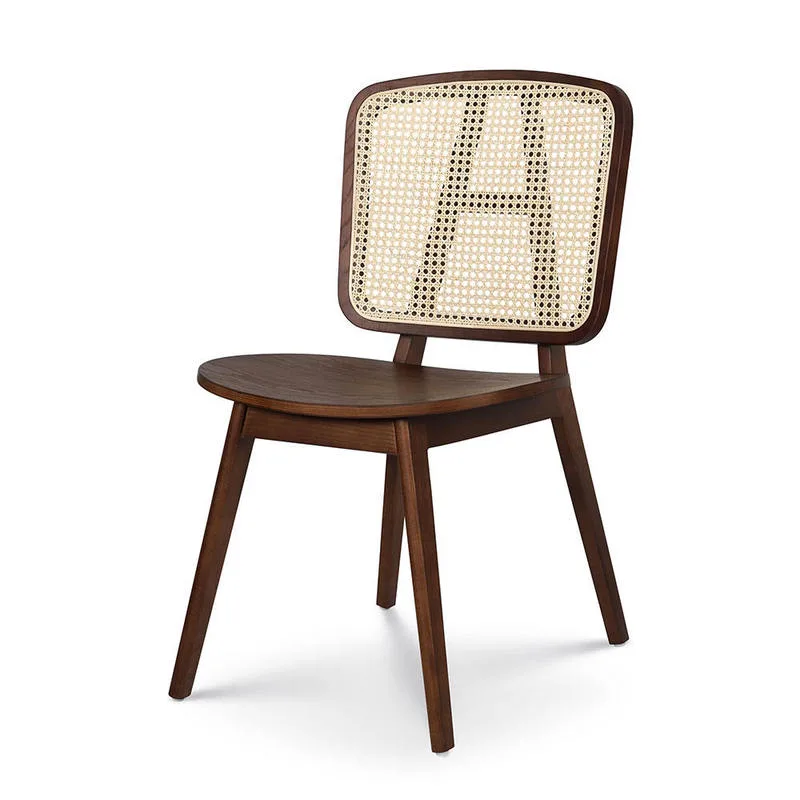 Wooden Chairs
Foshanchair Modern Solid Wooden Designer Wedding Chairs Dining Chair
Ash wood · MOQ 6 pcs · $45
View model →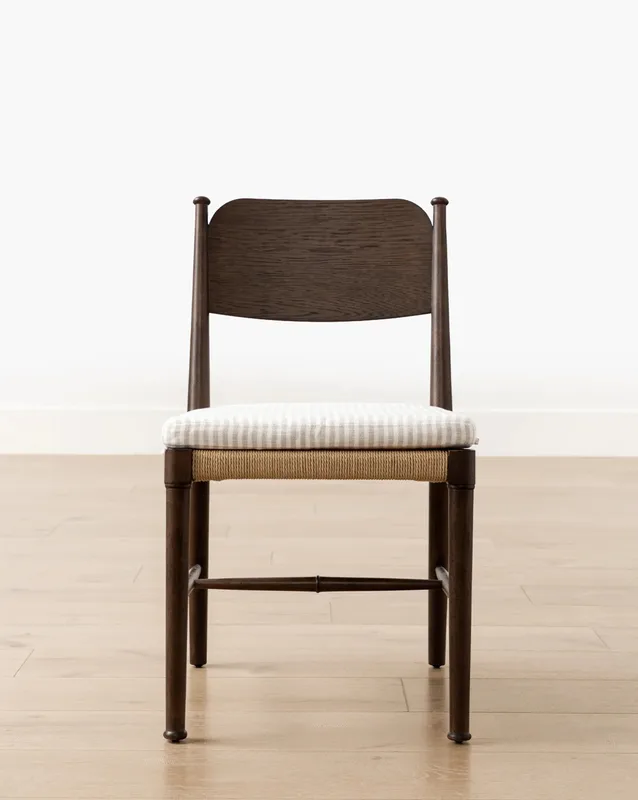 Wooden Chairs
Foshanchair Solid Wooden Dining Chair China Dining
100% solid wood · MOQ 6 pcs · $130
View model →