Chair Joints: What Buyers Should Inspect
Published by JP · Dining chair studio in Foshan, China
Commercial chairs are rarely rejected because the wrong wood or the wrong steel was used. They fail where two parts meet. Buyers who understand how a frame is assembled — and which joints to refuse — end up with far fewer creaking, wobbly chairs after the first year of service. This guide covers the joint types used in wooden chair frames and in metal frames, and exactly what to look at on the sample before releasing bulk.
1. The joint, not the material, decides lifespan
Every sit loads a chair in three directions at once: vertical compression down the legs, horizontal racking through the seat rails, and a twisting moment at the backrest. A dense hardwood or a thick steel tube handles the compression easily. The joints absorb the other two loads, and they do it thousands of times a year. In field repairs, failures cluster in the same four places: back leg to seat rail, apron to leg, stretcher to leg, and the backrest post where it meets the seat frame. All four are joints. That is why a well-built ash chair routinely outlives a badly built walnut one — species matters far less than assembly.
2. Wooden frames: mortise-and-tenon, dowel and biscuit
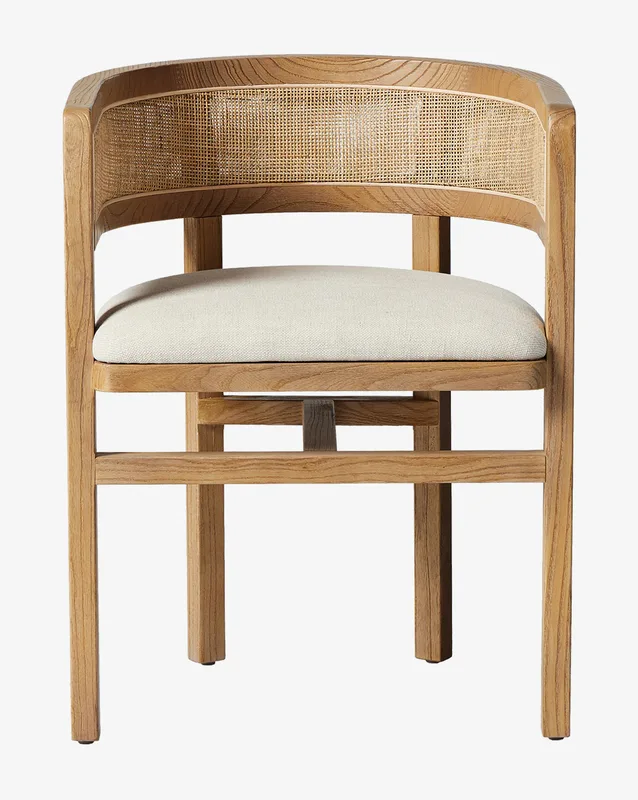
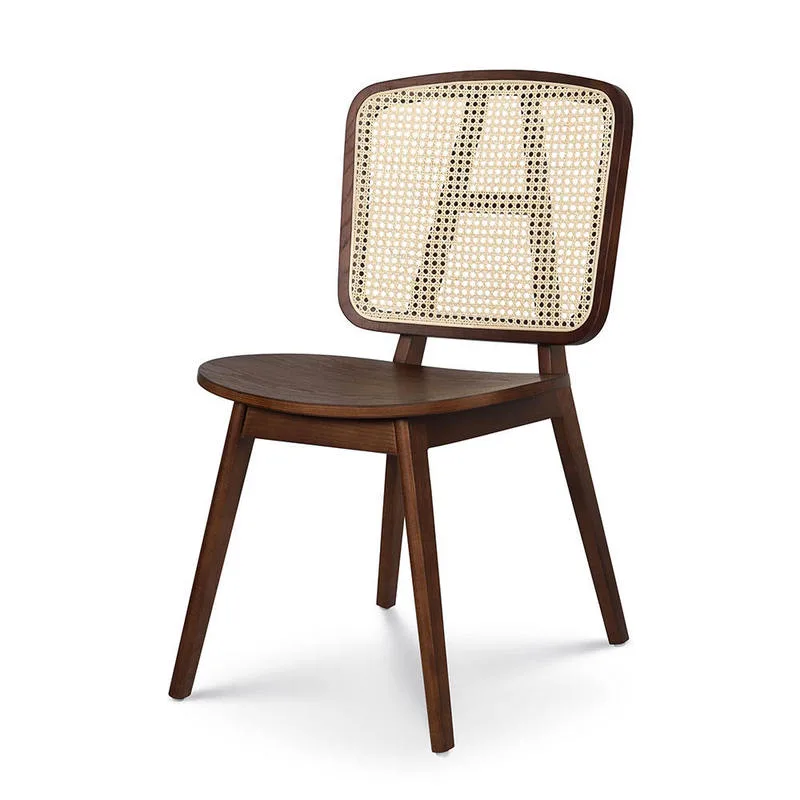
Mortise-and-tenon is the reference standard for contract seating. The tenon should be cut from the same rail rather than glued on as a separate block, the shoulder should seat fully against the leg with no visible gap, and the tenon should reach roughly two-thirds of the way into the leg. A draw-bored or pinned tenon is stronger still. On angled or curved frames, such as this black walnut dining chair, the tenon geometry has to be cut to the angle, so ask how the maker handles compound angles instead of accepting a screw from the inside.
Dowel joints are cheaper and entirely serviceable when sized properly: two fluted hardwood dowels of 8–10 mm per joint, bored to about 2.5 times the dowel diameter deep, with glue applied to both the dowel and the bore wall. What fails is screw-and-plug construction — one screw hidden under a wooden cap. Screws have no glue line and no mechanical lock against racking, so a screw-only joint loosens within months in a busy room. Biscuit joints sit in the same category: fine for a residential sideboard, not for a chair that gets pushed back and forth all day.
3. Corner blocks, stretchers and glue: cheap insurance
Two inexpensive details separate a frame that stays tight from one that does not. The first is a corner block or triangular brace at each seat corner, glued and screwed across the leg-to-rail joint; it costs very little and removes most of the racking movement. The second is a stretcher system — front-to-back or H-pattern — that ties the legs together and takes load off the joints. If your design omits stretchers for looks, say so and expect to compensate with heavier rails or a braced corner.
Glue choice matters too. Cross-linked PVAc (D3 class, water-resistant) is the normal choice for indoor contract frames; polyurethane glue is used where the joint may see moisture. A joint that was assembled dry, or where glue was applied only to the tenon, will look perfect in the showroom and open up in a humid dining room. Ask for the glue class in writing — the answer tells you whether the factory treats chairs as furniture or as contract seating.
4. Metal frames: welds, bolts and rivets
On powder-coated iron frames the joint is a weld, and the inspection question is coverage rather than technique. Look for a continuous weld around the full tube section at every load point; spot welds that stop halfway are the standard cost-cutting move. Weld spatter left in place is a sign the frame went to the coating line without dressing, and powder coat over a cold weld line hides a crack that will show up later. Tube wall thickness matters as much as the weld — 1.5 mm is a sensible minimum for commercial seat rails, and thinner stock flexes enough to fatigue the weld.
Bolted and riveted assemblies are legitimate on iron-legged dining chairs designed for flat shipping, but the fasteners must be through-bolted with a locking element, not a plain screw into sheet metal. Ask whether the seat frame arrives welded or as a bolt-together kit, and which fasteners you will need to re-tighten at commissioning. On steel frames, a service visit that re-torques eight bolts per chair is normal; a service visit that has to re-weld is a warranty claim.
5. What to inspect on a pre-production sample
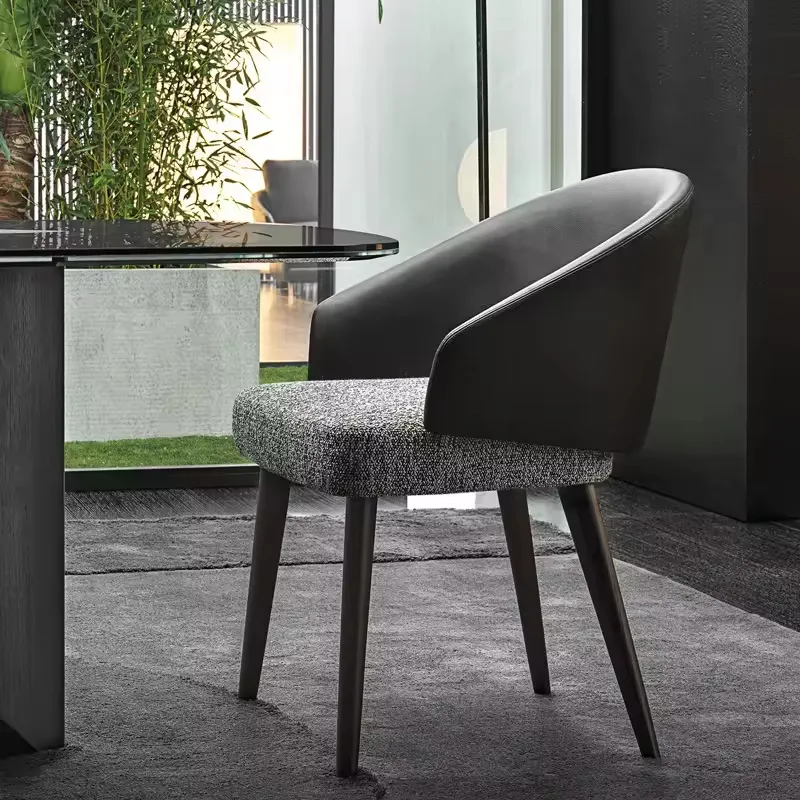
Joint quality is easy to test by hand before you commit to a container. Stand the sample on a flat floor, press one hand on the front corner and the other on the opposite back corner, and twist diagonally. A tight frame moves as one piece and stays silent; a loose one creaks and you can feel the rails shift. Then check four more things: visible glue squeeze-out at every joint (dry joints show nothing), a moisture content reading of 8–12 percent on the wooden parts, no movement when you push the backrest towards the seat, and the load rating the factory tested to. For upholstered models such as this upholstered solid wood chair, also confirm the frame is hardwood rather than plywood offcuts once the foam is removed. Record all of it with photos dated against the sample ID, because that record is what your inspector checks a container against.
6. Writing joint requirements into the order
Joint specifications only hold if they are in the purchase order. Add a short construction clause: joint type per connection, corner blocks on all four seat corners, D3-class glue, dowel diameter and count, weld coverage on metal frames, and the load standard the frame is tested to. Reference OEM and ODM development drawings by revision number so a mid-project substitution cannot pass as the approved design. If you source a stock model instead, a catalog chair can still be specified this way — ask the factory to confirm the joint construction of the exact model in writing, and re-test on the first shipment. Buyers who do this once usually find they never need the clause explained twice.
Conclusion
Frame construction decides how a chair behaves in year three, and it is one of the few specifications you can verify with your own hands in ten minutes. Prioritise mortise-and-tenon or full welds at the load points, insist on corner blocks and proper glue, and test the sample before bulk. Our chair catalogue lists construction detail on every model, and you can compare build options on our about page — or request a quote with your quantity and we will send the joint specification for the models you shortlisted.
Related: How to Choose Solid Wood Dining Chairs · Restaurant Chair Maintenance: Care, Repair and Spare Parts
Models we build for this
Factory-direct pricing, custom finish and fabric, MOQ from a few pieces.