Sketch to Sample: How Custom Chair Development Works
Published by JP · Custom chair studio in Foshan, China
A chair starts as a line on paper or a chair you saw and loved. Turning that into something you can sit on — reliably, repeatedly, at volume — is a craft with a fixed sequence. This is the sketch-to-sample workflow we run with every custom client.
1. The brief: what to send
A photo, a hand sketch, a CAD file or a physical sample all work. Tell us the target use (restaurant, hotel, home), the seating height, the weight limit and the look. The more decision you make now, the fewer revisions later. A one-page brief beats a vague mood board.
2. Technical drawing and sign-off
We convert your input into a dimensioned drawing: frame, joinery, seat, finish and tolerances. You sign off the drawing before any wood is cut. This drawing is the contract for the sample and, later, the bulk order.
3. The prototype
We build one physical sample — roughly 10 days out. Sit in it. Photograph it next to your table. Check the finish under your real lighting. The prototype exists to surface problems while they are still free to fix.
4. Revision and approval
Most chairs need one revision: a softer foam, a darker stain, a thicker tube. We adjust and return a second sample, or we freeze the first as the approved reference. The approved sample becomes the master every bulk unit is measured against.
Related: Custom Chair OEM/ODM Process · Chair Sample Approval Checklist · Preparing a Chair Design File
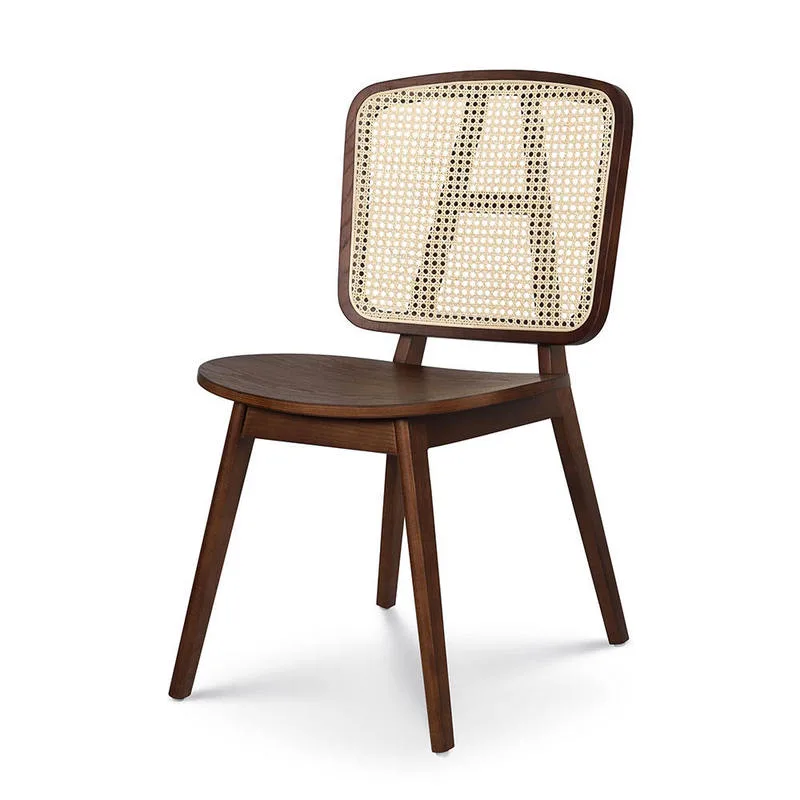
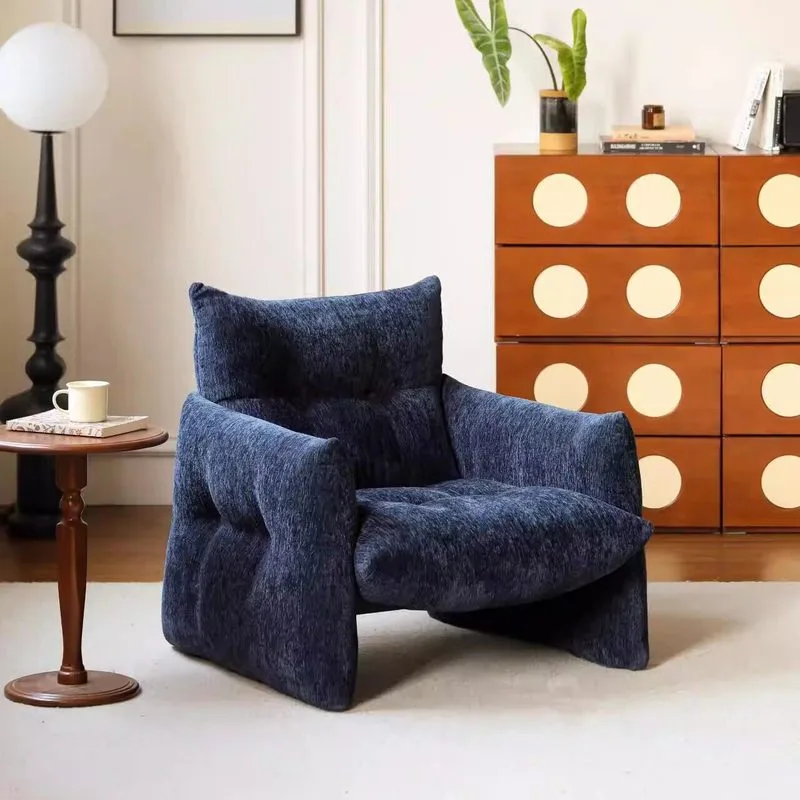
Models we build for this
Factory-direct pricing, custom finish and fabric, MOQ from a few pieces.